When your office has carpet, and the chair mats suck
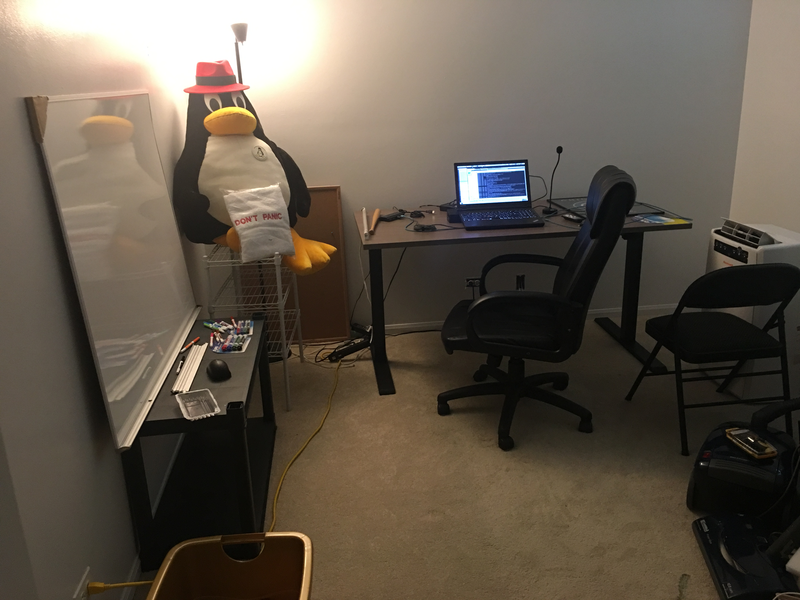
If your office has carpet, and the chair mats you can get at the office-supply store aren't cutting it, make your own.Version 1 - Old basement office
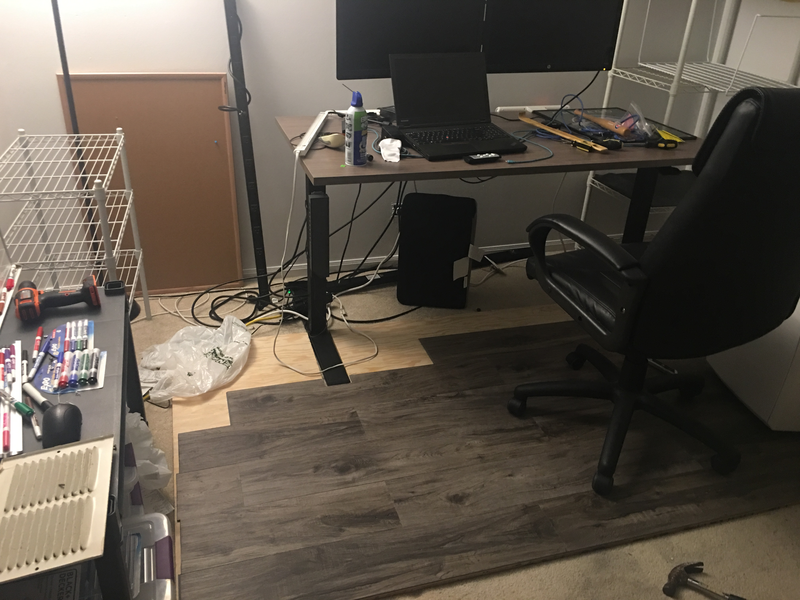
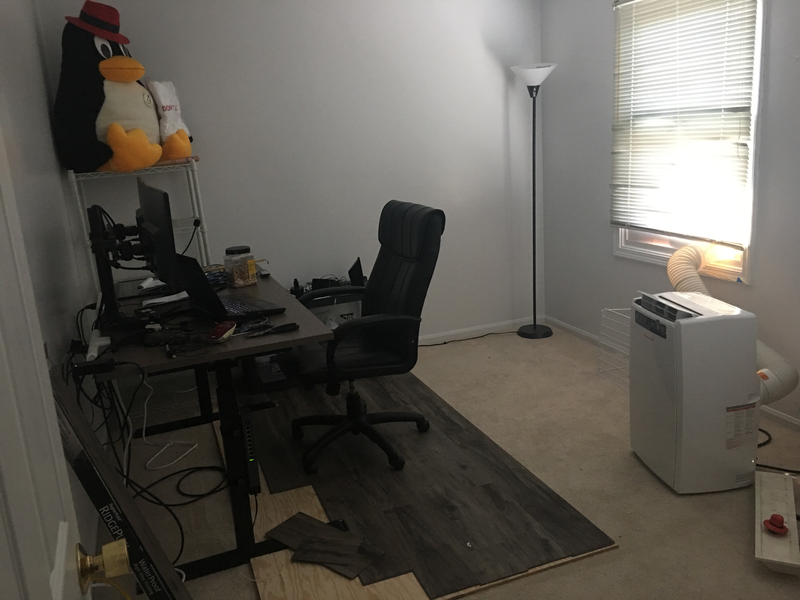
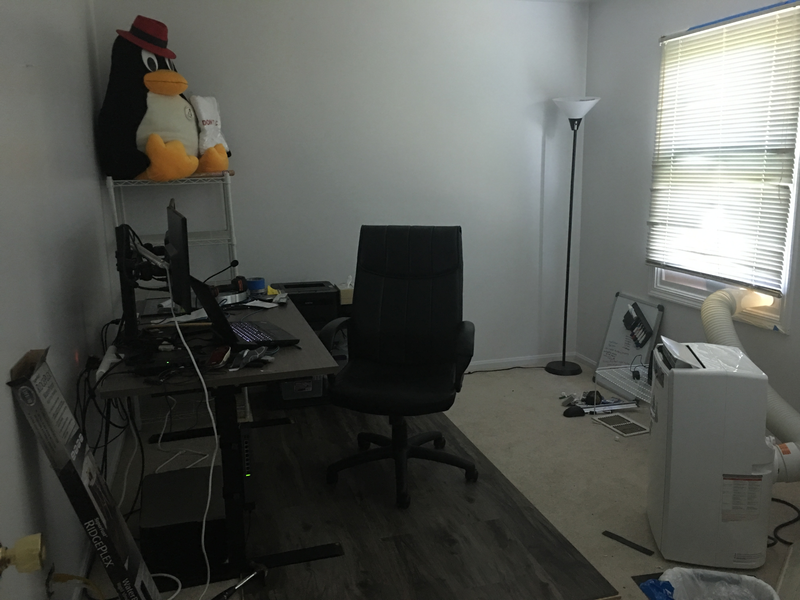
Version 2 - Upstairs bedroom office
v1 - Old office - basement
Step 1
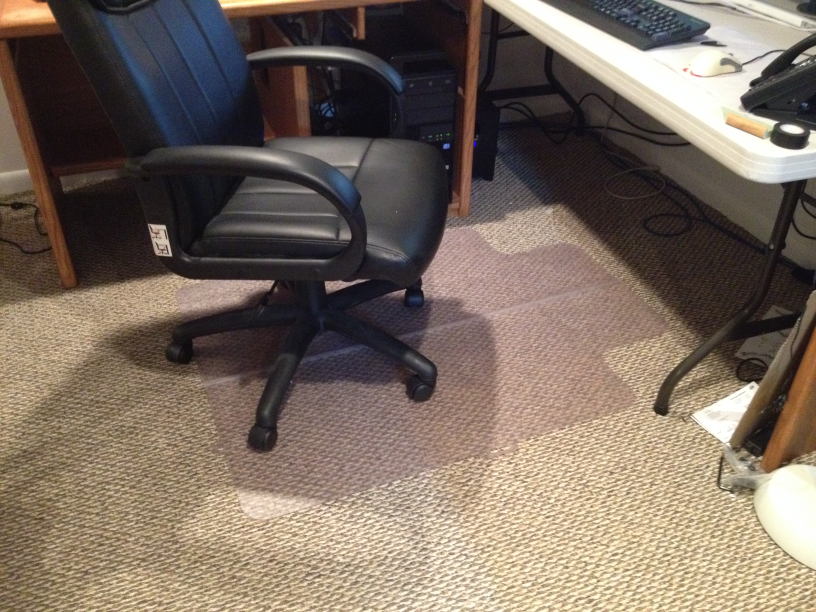
- Set up your desk(s) in the configuration you'd like.
- Realize that the plastic chair mat you bought at the office supply store is just barely larger than the chair that sits on it
- Notice that the that the chair mat will dent wherever the chair wheels sit
- Be annoyed that the chair won't roll on the mat, and that even if it did roll, the only place to go would be off the mat
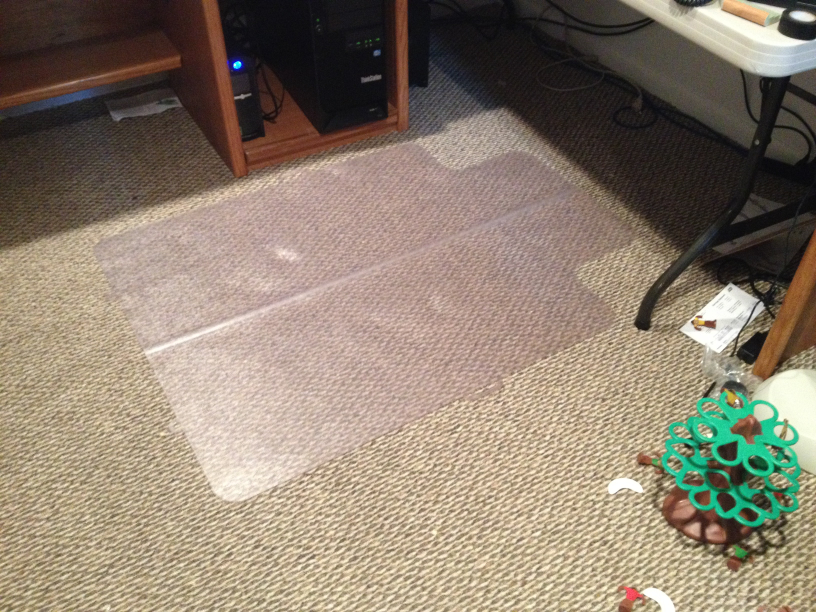
- (not shown) Use masking tape on the floor to define the perimeter of where you'd like your chair mat to actually go; make sure that it will allow your chair to be underneath the edge of the desk as far as you'd like it to be when sitting at the desk
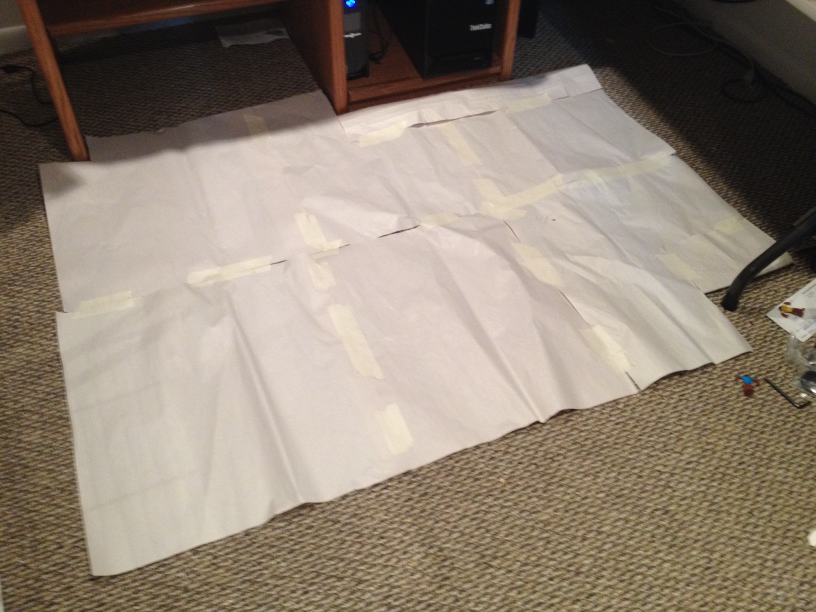
- Use butcher-block paper or newspaper (or lots of printer paper) to make a template that covers the masking tape outline; tape the pieces of paper together
- Measure the length and width of the area covered by the template
- Also, measure and estimate how many linear feet (inches/cm/leagues) of laminate flooring (wood or vinyl) you will need to cover the template; the laminate flooring comes in a particular with, and isn't necessarily consistent between patterns and manufacturers, so choose the flooring before doing the calculation.
- Add 2-4 extra lengths of laminate flooring; most flooring is intended to have staggered seams, and you'll mess up at least one of the cuts (or is it just me who does this?)
- If the laminate flooring has edge moulding, measure the perimeter of the template to determine how much of that you will need; again, add a length or two (or don't)
- Buy a piece of plywood with dimensions large enough for the template (here in the US, the standard size of a sheet of plywood is 4 feet by 8 feet; this may potentially limit the dimensions of your chair mat)
- The plywood should be thick enough that when you stand on it on carpet, there is no bowing; get grade A or B sanded plywood, since that will be better on the carpet underneath
- Also buy the laminate flooring and moulding as calculated above
- optional: Look silly trying to transport a large sheet of plywood on top of a taxi or your small car
- Alternately, befriend someone with a van or pick-up truck
- Alternately alternately, rent the small truck from Lowes, Home Depot, Menards, etc. at $20 for 75 minutes; that's less than what you'll pay for a quality sheet of plywood
- (not shown) Lay the template on the plywood and trace around the outside; use a straight edge and t-square to make the lines straight and parallel/perpendicular as appropriate
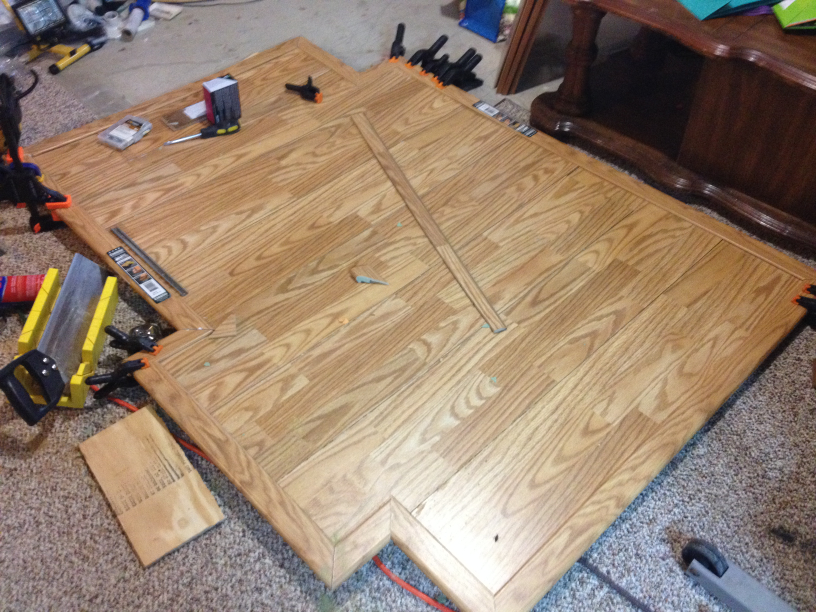
- Cut the plywood along the lines drawn from the template
- (if adding moulding) Lay out, cut, and attach (screws and/or adhesive) any moulding attachment strips around the edges of the plywood (if the chosen moulding uses them)
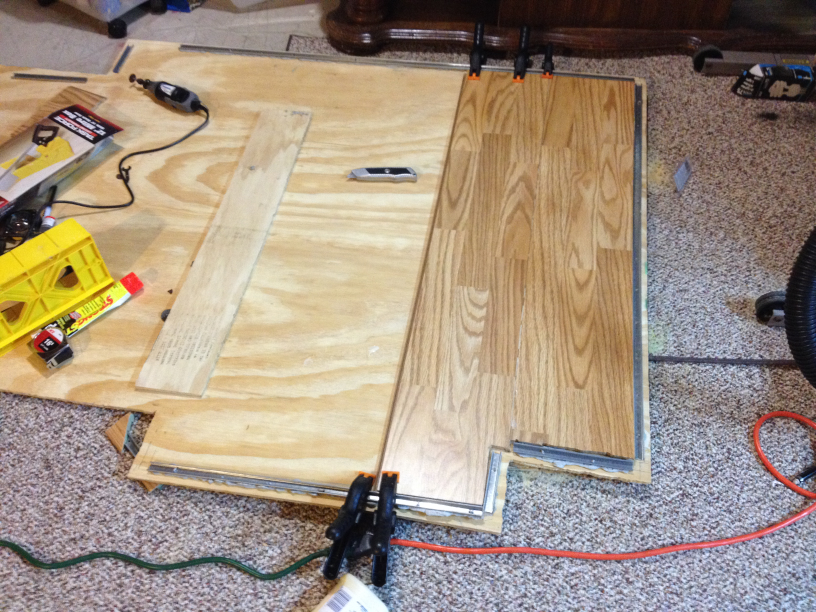
- Beginning at one edge of the plywood (or just inside the moulding attachment strip), cut a piece of laminate to the right length, and cut out any notches to fit the template
- The laminate flooring generally uses a tongue-and-groove pattern on both sides and both ends to fit pieces together with minimal visible seams; one side may be easier to add pieces to later--keep that in mind when placing the first piece
- Attach the laminate flooring to the plywood using likely using a general-purpose construction adhesive (for example 'Loctite Express Power Grab All Purpose Adhesive')
- You may need to clamp the laminate to the plywood to make it tight and smooth
- Lay out the next piece of laminate against the first, sliding the tongue-and-grove together to ensure fit, minimize gaps, etc.; stagger the beginning of the next length of laminate creatively
- Staggering the lengths of laminate will probably mean that some of the pieces you cut will have neither a tongue or groove on either end (see above about buying a few extra lengths); unless you don't care about the appearance, these lengths of laminate will no longer be usable as flooring (see v2 below for a potential creative use for some of these)
- Cut the laminate as needed, slide tongue-in-groove, and attach to the flooring (put the adhesive on the plywood or bottom of the laminate, or lift the piece to apply the adhesive underneath, if doable)
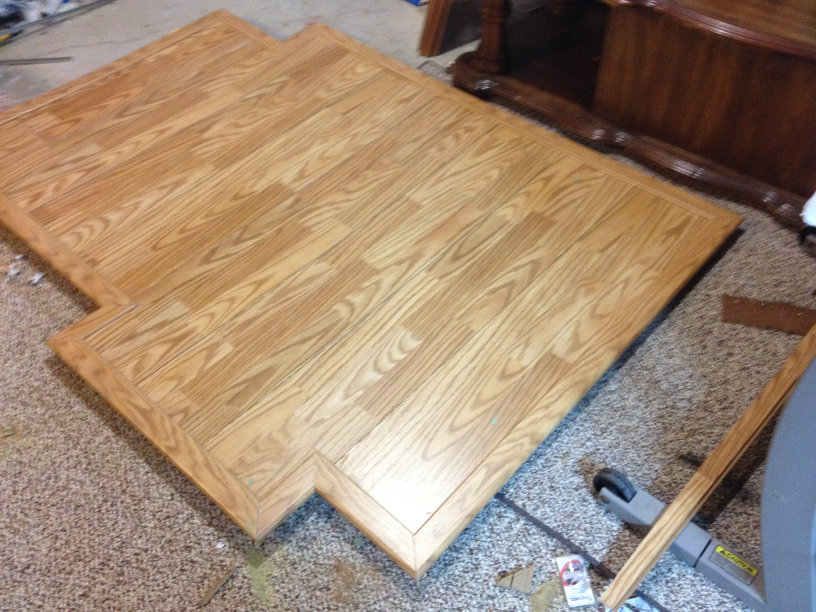
- Continue laying out, cutting, and attaching the lengths of laminate across the rest of the plywood base (don't forget to leave enough space for the moulding, if applicable) if applicable:
- Measure the lengths of moulding to fit around the perimeter of the base; the moulding will fit together at 45-degree angles with the next piece, so use the longer of the outside (for corners) or inside (for indentations) length
- Use a mitre box to cut the corners at a 45-degree angle (or carefully cut a 45-degree angle using a knife/saw/etc.)
- Attach the moulding strips to the base
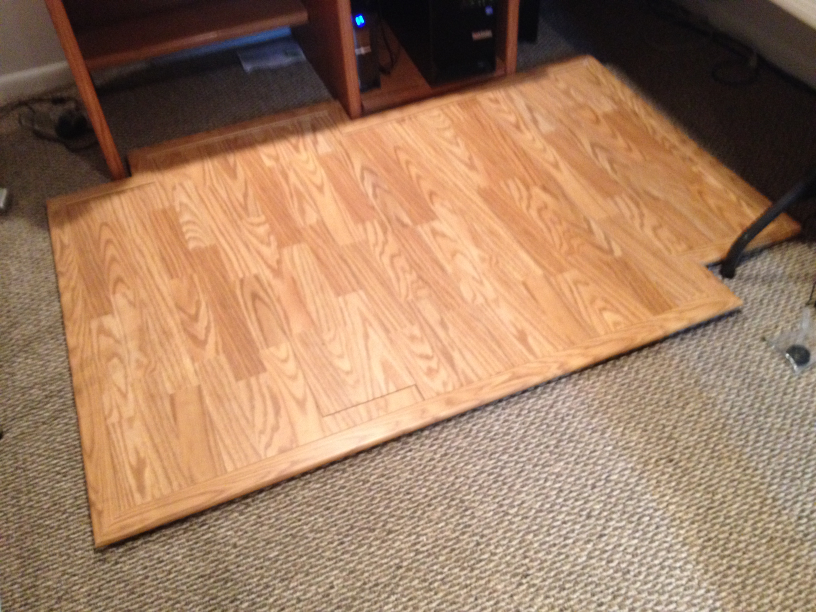
- Move your new chair mat into place
- Roll around like a boss. Celebrate your genius!
- Evict teenage son from his bedroom, and move him in with his younger brother; this will help build character, prepare him for having roommates, and teach him who is boss (also, the brothers will probably not kill each other; YMMV)
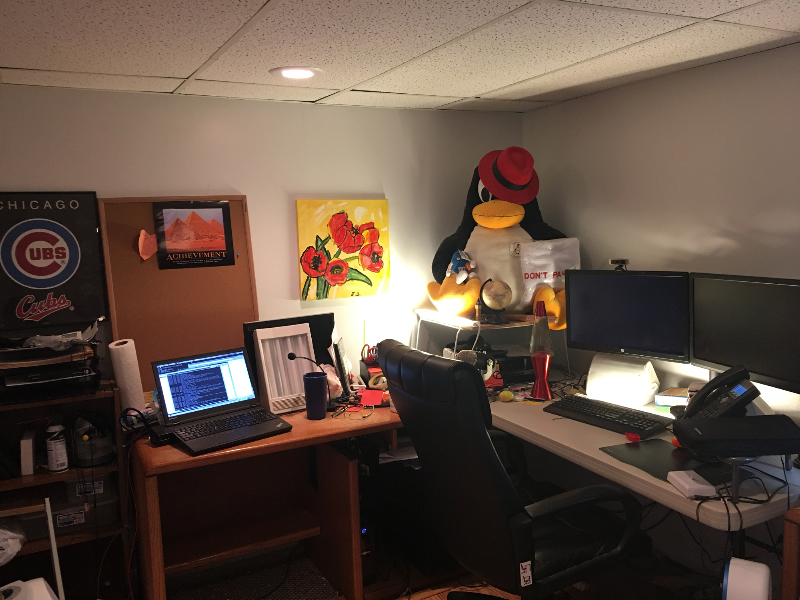
- Set up desk and other office furniture as desired
- Follow the same steps as with v1, only this time knowing what you're doing
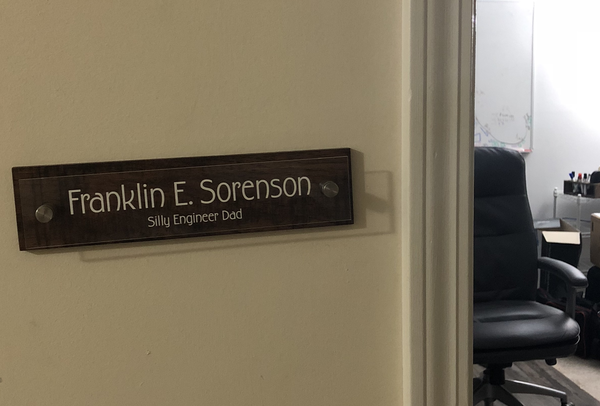
- Hang your shingle
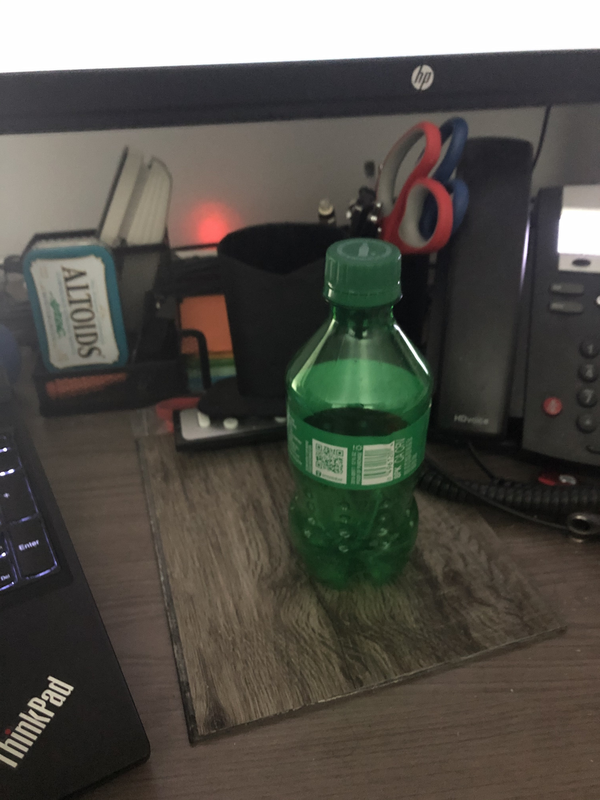
- If you have leftover pieces of laminate, use one as a coaster
Step 2
Step 3
Step 4
Step 5
Step 6
Step 7

v2 - New office - upstairs bedroom office
Step 1
Step 2 - Step 7

BONUS
TuxRocks.com © Copyright Frank Sorenson.
All trademarks and copyrights on this page are owned by their respective owners.
Legal documents here are matters of public record.
Contact me via email at frank AT tuxrocks DOT com.